The Ultimate Guide to Seasoning Your Blackstone Griddle: Oils, Tips, and Troubleshooting
Seasoning a Blackstone griddle is the single most important thing you can do before your first cook — and one of the most important things you’ll do after every cook. Get it right and you’ll have a naturally non-stick surface that improves with use and lasts for years. Skip it or do it wrong and you’ll deal with food sticking, uneven cooking, and rust.
This guide covers everything: why seasoning works, which oils to use, the step-by-step process for initial seasoning, how to maintain the surface between cooks, and how to fix the most common problems.
Why Seasoning Matters
Seasoning does three things:
- Prevents rust. The rolled steel surface of a Blackstone will rust if left exposed to moisture. A seasoning layer seals the metal from air and water.
- Creates a non-stick surface. Each layer of polymerized oil fills the microscopic pores in the steel, building up a smooth, release-friendly cooking surface over time.
- Protects and extends the griddle’s life. A well-maintained seasoning layer is what allows a Blackstone to last 10–20 years.
Your Blackstone arrives from the factory with a protective coating — not a food-safe seasoning — that must be burned off and replaced before you cook on it.
The Science Behind It (Quick Version)
When oil is heated past its smoke point on a steel surface, the oil molecules break down and bond to the metal through a process called polymerization. The result is a hard, plastic-like layer that’s bonded to the steel, not just sitting on top of it. Thin layers polymerize better than thick ones — that’s why you apply multiple light coats rather than one heavy one.
Choosing the Right Oil
Not all oils season equally. The key variable is smoke point — the temperature at which oil starts to break down and smoke. For seasoning, you want an oil that smokes and polymerizes at temperatures your griddle can easily reach.
| Oil | Smoke Point | Notes |
|---|---|---|
| Avocado oil | 520°F | Best all-around — high smoke point, neutral flavor, easy to find |
| Grapeseed oil | 420°F | Light, neutral, bonds well |
| Blackstone Conditioner | ~450°F | Proprietary blend, purpose-built for griddles |
| Canola oil | 400°F | Affordable, widely available, works well |
| Vegetable oil | 400°F | Fine for maintenance, adequate for initial seasoning |
| Flaxseed oil (unrefined) | 225°F | Creates a very hard layer but is prone to flaking if applied too thick — use in very thin coats only |
| Lard / bacon grease | 370°F | Good for cooking; not recommended for initial seasoning — animal fats eventually turn brittle and flake |
Best pick for initial seasoning: Avocado oil or Blackstone Seasoning & Cast Iron Conditioner. Both have high smoke points, neutral flavor, and bond reliably to the steel.
What You’ll Need
- Your Blackstone griddle
- High-smoke-point oil (avocado, canola, or Blackstone Conditioner)
- Heat-resistant gloves
- Lint-free paper towels
- Tongs (to hold paper towels safely)
- Metal scraper
- Infrared thermometer (optional but helpful)
Initial Seasoning: Step-by-Step
Plan for 60–90 minutes and do this outdoors — it produces significant smoke.
Step 1: Clean Off the Factory Coating
Wash the griddle surface with warm soapy water and a non-abrasive sponge. Rinse thoroughly and dry completely with paper towels. Turn all burners to low for 5 minutes to evaporate any remaining moisture.
This is the only time you’ll use soap on the griddle surface.
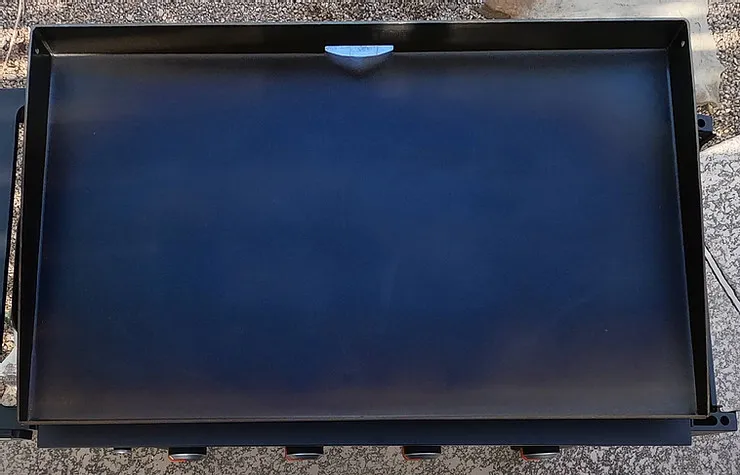
Step 2: Heat to High Until It Changes Color
Turn all burners to high and let the griddle heat for 10–15 minutes. The surface will change color — from silver-gray to brown to black in patches. This is the factory coating burning off. Let it go until the whole surface has darkened and stopped smoking, then turn the burners off and let it cool for 5 minutes.
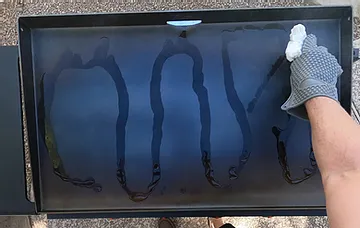
Step 3: Apply a Thin Coat of Oil
Pour a small amount of oil (about 2–3 tablespoons for a 36” griddle) onto the surface. Using tongs and a folded paper towel, spread it into a very thin, even layer across the entire surface — top, sides, and corners. The surface should look lightly damp, not wet or pooled.
Thin is the rule. Too much oil in one coat leads to sticky, gummy buildup that won’t harden properly.
Step 4: Heat Until It Stops Smoking
Turn all burners back to high. The oil will begin to smoke within a few minutes — this is polymerization happening. Let it smoke until it stops on its own, usually 15–20 minutes. The surface will darken further.
Step 5: Repeat 3–4 Times
Let the griddle cool slightly (5 minutes), then repeat steps 3–4. Do this 3–4 times total for the initial seasoning. After each coat the surface should get progressively darker and more uniform. By the final coat, it should be a dark brown or black with a slight sheen.
You can cook on it after this, but the seasoning will continue to improve with every subsequent cook.
Maintaining the Seasoning After Each Cook
This is where most people fall short. The post-cook routine is what keeps your seasoning building rather than degrading.
- While the griddle is still hot, scrape off all food debris with a metal scraper.
- Add a small amount of water to loosen any stuck bits — it will steam off quickly.
- Wipe the surface with paper towels using tongs.
- Apply a very light coat of oil while the griddle is still warm. Use a paper towel to spread it evenly.
- Let it cool before covering or storing.
The oil you apply at the end of each cook is your maintenance layer. It protects the surface from moisture until next time and gradually adds to your seasoning.
Do not use soap during routine cleaning — it strips the seasoning layer.
Troubleshooting Common Problems
Food Is Sticking
Cause: Not enough seasoning, or the griddle wasn’t hot enough before adding food.
Fix: Make sure the griddle is fully preheated before cooking (10–15 minutes on medium-high). Add a fresh seasoning coat: heat the griddle, apply a thin layer of oil, let it smoke off, repeat twice. Also check our griddle temperature guide — cooking at the right temp for each food prevents sticking.
Sticky or Gummy Surface
Cause: Too much oil applied during seasoning, or oil that didn’t fully polymerize.
Fix: Heat the griddle to medium-high (350–375°F). Use a metal scraper to scrape off the sticky layer. Wipe clean with paper towels. Re-season with a much thinner coat of oil — the key is barely damp, not wet.
Flaking Seasoning
Cause: Oil applied too thick, or initial seasoning done with flaxseed oil without thin enough coats.
Fix: Scrape off the flaking areas with a metal scraper. Clean thoroughly. Re-season with a higher-smoke-point oil (avocado or grapeseed) in very thin layers, 3–4 coats. Avoid flaxseed oil until you have a solid base established.
Rust Spots
Cause: Surface left without oil after cooking, or stored in a humid environment without a cover.
Fix: See our full rust removal guide. Short version: scrub with a mixture of salt and oil for light rust, or a griddle stone for more severe rust. Dry completely, then immediately re-season with 3–4 coats.
Uneven Color or Patchy Surface
Cause: Inconsistent oil coverage or heating during seasoning.
Fix: This is cosmetic and doesn’t affect performance — it evens out naturally with continued cooking. If you want to speed it up, apply another 1–2 seasoning coats and cook fatty foods (bacon, chicken thighs) across the patchier areas.
Advanced Techniques
Oven Seasoning Method
For the most even initial seasoning possible, you can season just the griddle top in your home oven:
- Preheat oven to 450°F.
- Clean and dry the griddle top thoroughly.
- Apply a thin layer of avocado or grapeseed oil.
- Place the griddle top upside down on the oven rack (put a baking sheet below to catch drips).
- Bake for 1 hour. Turn off oven and let cool inside.
- Repeat 2–3 times.
Note: check that the griddle top fits in your oven before starting, and ventilate the kitchen well — it will smoke.
Using Bacon Grease for Ongoing Maintenance
While animal fat isn’t recommended for initial seasoning (it turns brittle and can flake on a bare surface), cooking bacon regularly is one of the best things for a griddle that already has an established seasoning base. The fat coats and adds to the existing layers with every cook. Just don’t rely on it as your only seasoning source.
Frequently Asked Questions
How many times do I need to season a new Blackstone? At minimum 3–4 coats for initial seasoning. More coats give you a more durable starting surface, but the seasoning improves significantly just from regular cooking — especially with fatty foods.
Can I use olive oil to season my Blackstone? Extra virgin olive oil has a relatively low smoke point (around 375°F) and isn’t ideal for seasoning. Regular refined olive oil works better. For initial seasoning, stick to avocado oil, canola, or Blackstone’s own conditioner.
Is it normal for my griddle to look black after seasoning? Yes — a dark brown to black surface with a slight sheen is exactly what you’re after. It means the oil has polymerized and bonded to the steel. Uneven coloring in the early stages is normal and evens out with use.
Can I season my Blackstone indoors? It’s possible but not recommended — the process produces significant smoke. If you must do it inside, use the oven method for the griddle top, maximize ventilation, and run a range hood if you have one.
How often should I fully re-season? With proper after-cook maintenance (light oil coat every time), most users go years without a full re-season. You’ll know it’s time when food starts sticking consistently, you see rust, or the surface looks dull and unprotected.
Can I use metal utensils on a seasoned Blackstone? Yes. The seasoning layer is durable enough for metal spatulas and scrapers — that’s what it’s designed for. Avoid dragging sharp edges forcefully across the surface unnecessarily.
How do I know if my griddle is properly seasoned? A well-seasoned griddle will look dark and slightly shiny. Water dropped on a warm surface will bead up and roll off. Food will release cleanly during cooking without sticking.
What’s the best way to store a Blackstone between uses?
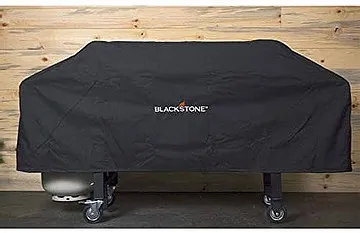
Apply a light oil coat after cleaning, let it cool, then cover with a fitted griddle cover. If storing outside, a hard cover is better than a soft one for long-term rust prevention.
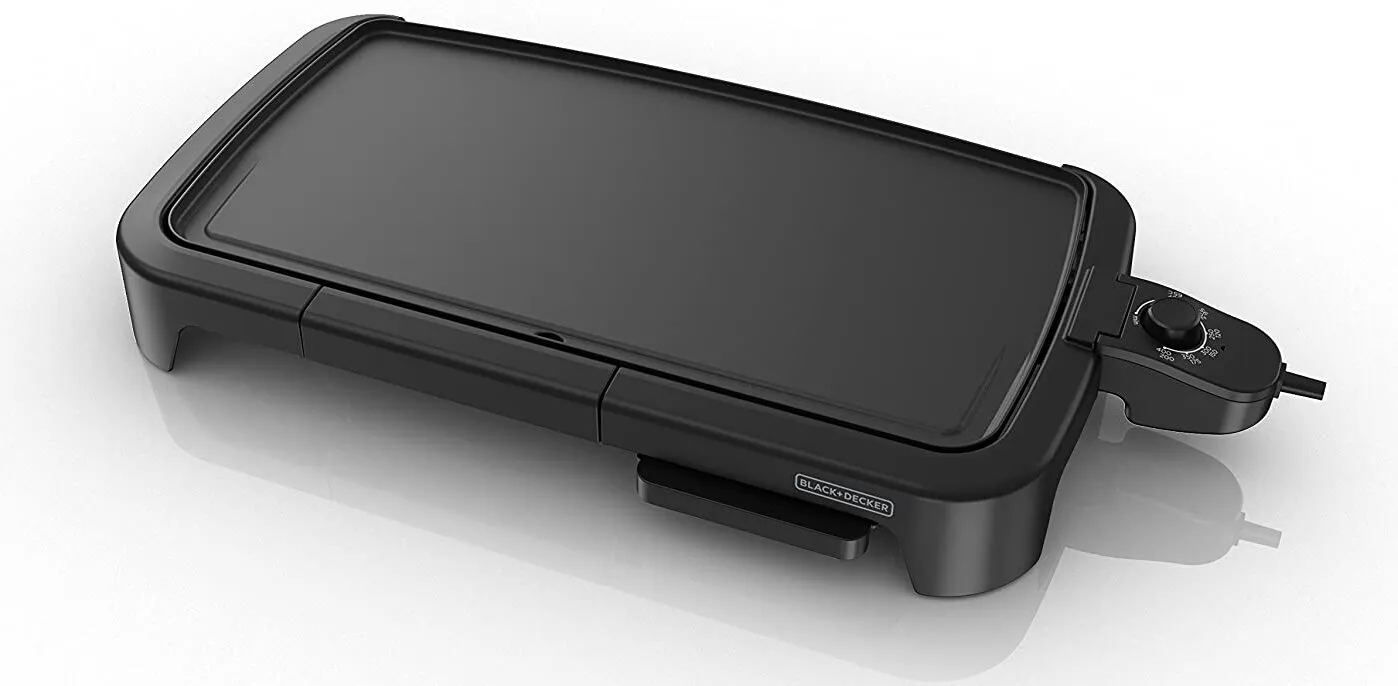
How to Clean an Electric Griddle: The Ultimate Step-by-Step Guide
Electric griddles are versatile cooking appliances that have become increasingly popular in modern kitchens. However, maintaining these devices can be…
Salmon on the Blackstone Griddle: Easy Step-by-Step Recipe
Learn how to cook salmon on the Blackstone griddle with perfect temps, cook times, and a 3-step recipe that delivers crispy, flaky results every time.

The Ultimate Blackstone Hibachi Recipe: Master Japanese Steakhouse Flavors at Home
Are you yearning for the sizzling excitement and mouthwatering flavors of a Japanese steakhouse without the hefty price tag? Look no further! Our comprehensive…